Welcome back dear readers! I left you last time with the completed bookshelves in the sunroom at The Shack.

Next we began installing the hardwood floors. There’s actually a sequence of installation to these things, since ideally the cedar planks and door casing should sit atop the floor, and the ceiling will ideally butt up next to the walls. We did quite a bit of logistics and planning before starting the renovations in this room!
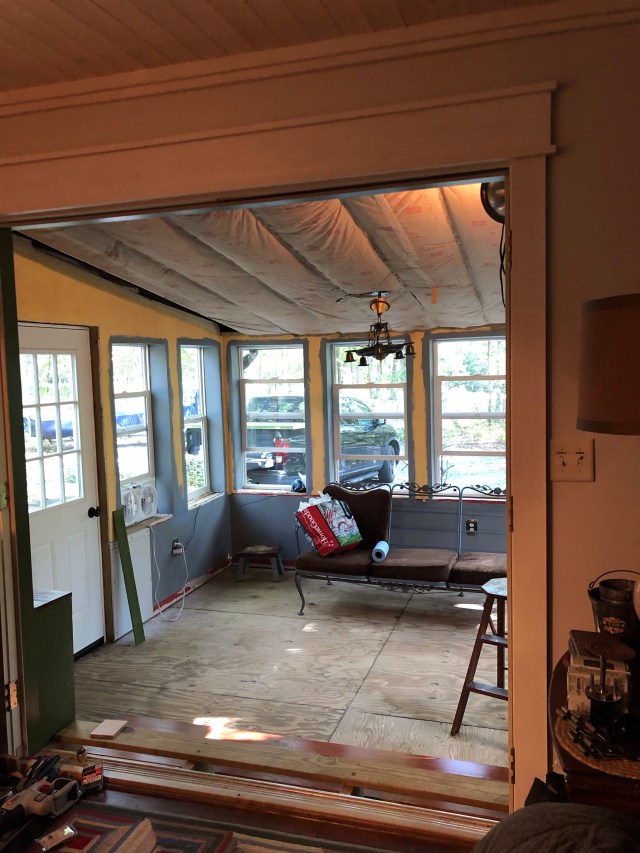
BEFORE: After demolition, the room is blank and ready for an update! All the walls and trim will eventually be covered in cedar planks, stained a dark green, inspired by the trees outside. Both the floor and ceiling will be clad in a Hickory hardwood.
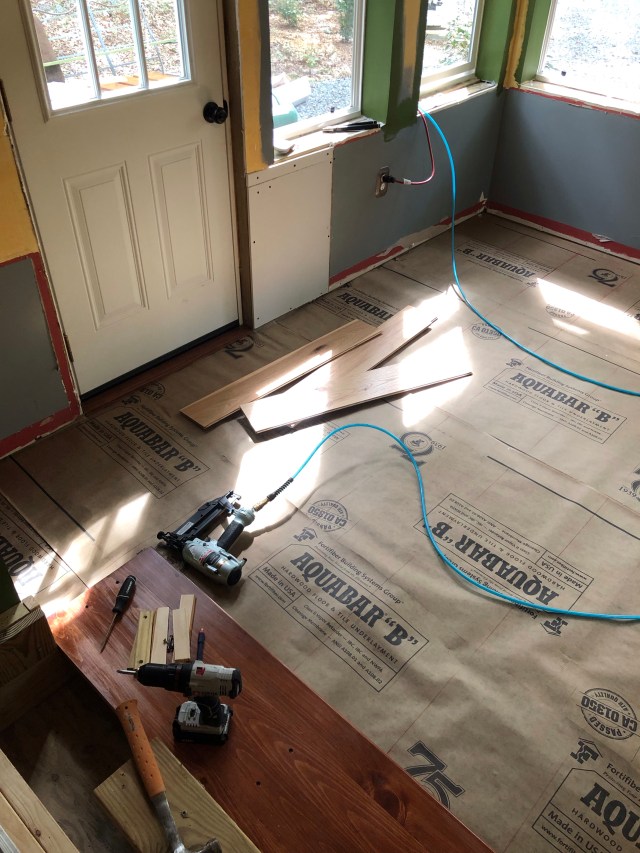
First a thick paper moisture barrier will go on top of our original plywood subfloor. Just as the name implies, this will help insulate and protect the floor against the infiltration of outside moisture from underneath.

Silvia inspects the thick paper vapor barrier, before we begin installing the hardwood floors.
We are using an engineered hardwood product for the floors, since the sunroom is built on a crawl space. Engineered flooring is basically a hardwood ‘wear layer’ on top of a plywood base. The plywood keeps the floor dimensionally stable, helping to limit bowing and cracking which would likely happen with a solid wood product.
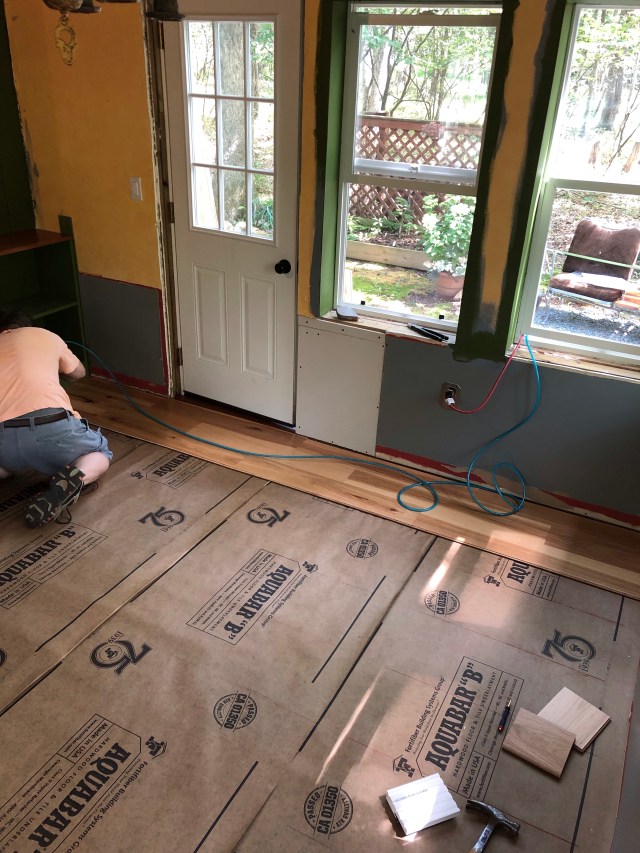
We started at one side and began nailing planks to the subfloor, using a plumb chalk line as an installation guide to keep us on track. Basically, we nailed each plank of wood to the subfloor through the groove along one side. We used a special nail gun for this job, installing a complete row along the wall. Then to start the next row, we fit the tongue of the each plank into the groove of the first row and repeated the process, making sure to get a tight fit by tapping each piece with a rubber mallet, before nailing through the grooves again. Row by row, the floor gets completed.
It took us just over a day to install the flooring. We ended up doing the last row the next morning, since it involves a little trickiness to cut and install the final tongue and groove where it meets the wall.
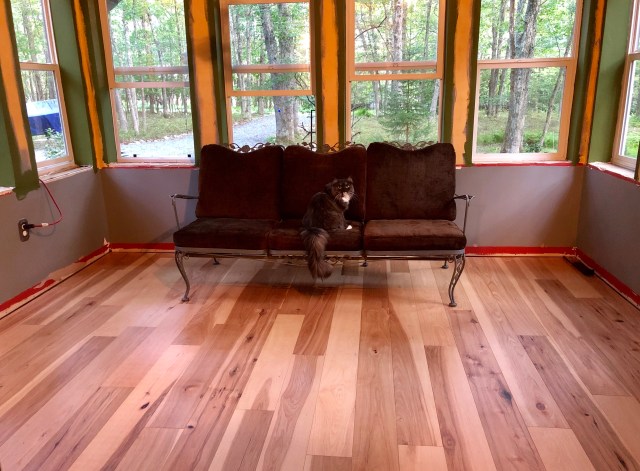
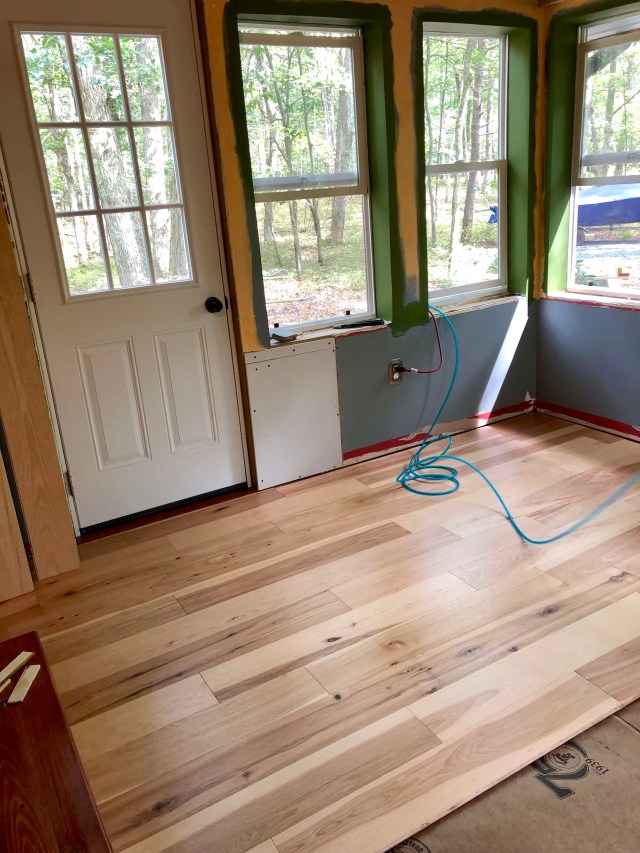
Silvia approves of the freshly installed Hickory floors. What a difference they make in the space!! I love the varied wood grain, complete with knots and lots of color variation. We selected each plank’s individual placement to get good variation in the placement of knots and distinct color.
Next time we’ll move on to the walls and casing. How exciting to finally see that rich green on the walls of the sunroom!! I can’t wait!
Until next time, make sure to like Robinson Interiors on Facebook, Instagram, Pinterest, and Twitter, and DO stay tuned for future posts about my work, travels, and design inspirations, not to mention tips and ideas for updating your own home!
 Click on this image to be taken directly to my website for more information about Robinson Interiors.
